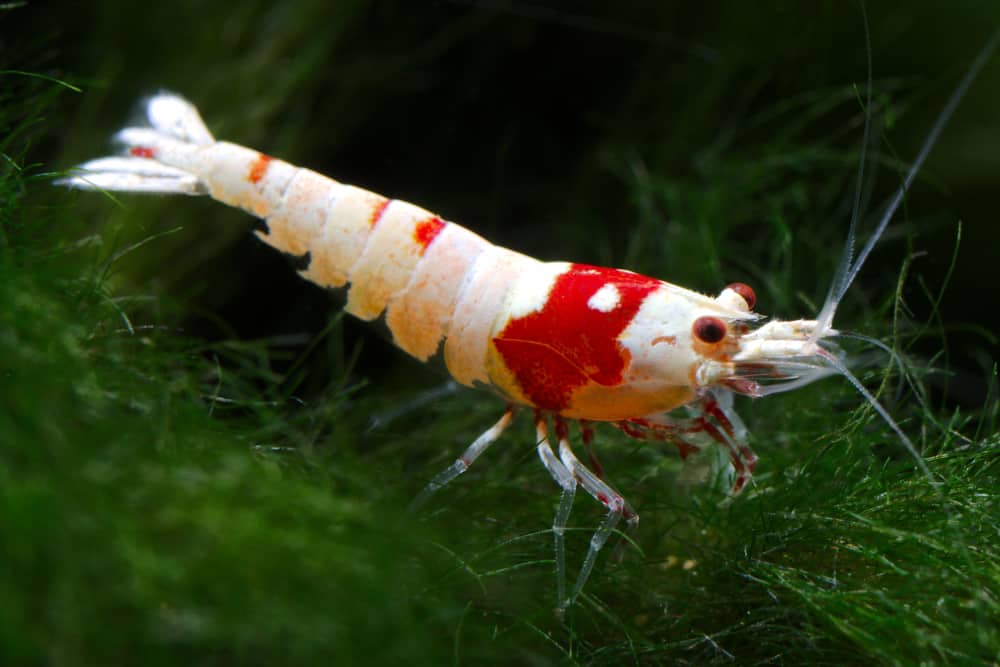
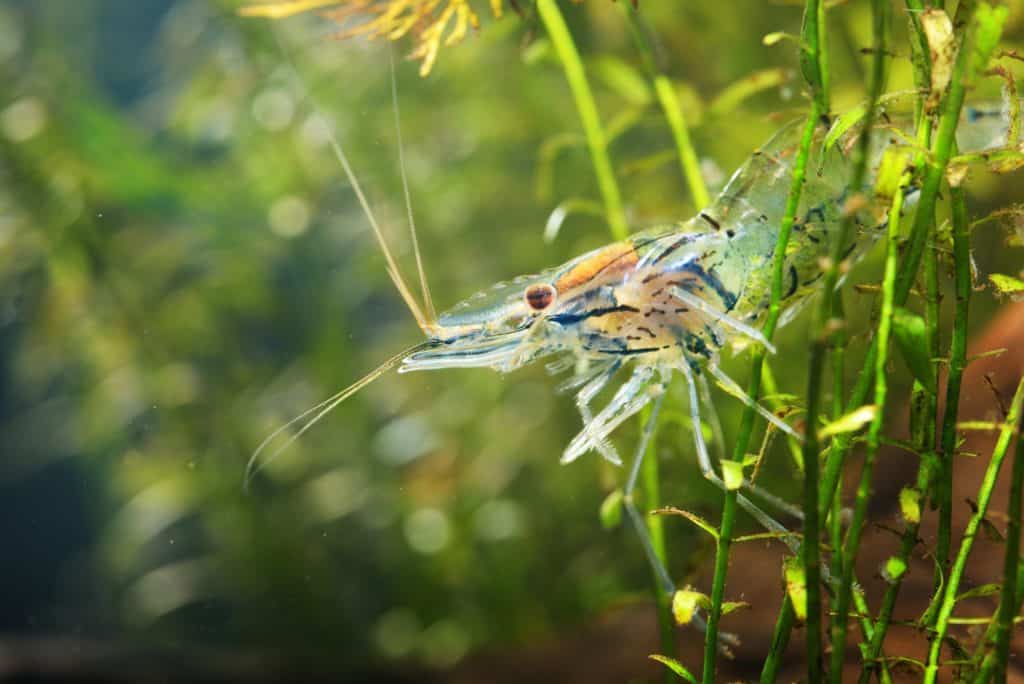
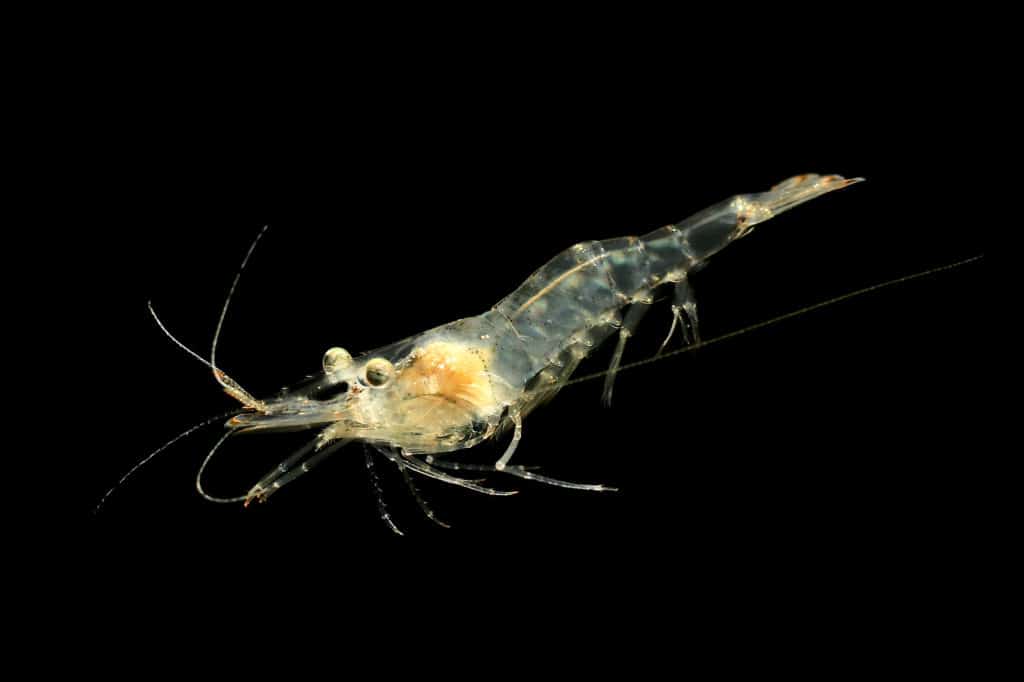
Everyone looking to house shrimp in their aquarium wants them to live long, happy lives, and making sure they’re acclimated can play a big part in their overall health.
If you have no idea where to start, know that you’re not alone.
It’s a very common question.
Thankfully, we have the answer right here in a step-by-step guide which you can follow to start your shrimp off right.
How to Acclimate Shrimp (Step-by-Step Guide)
1. Getting Started and Gathering Supplies
To acclimate your shrimp properly, you’ll need the right supplies to get the job done, but since there are different methods of acclimation, you’ll need different supplies.
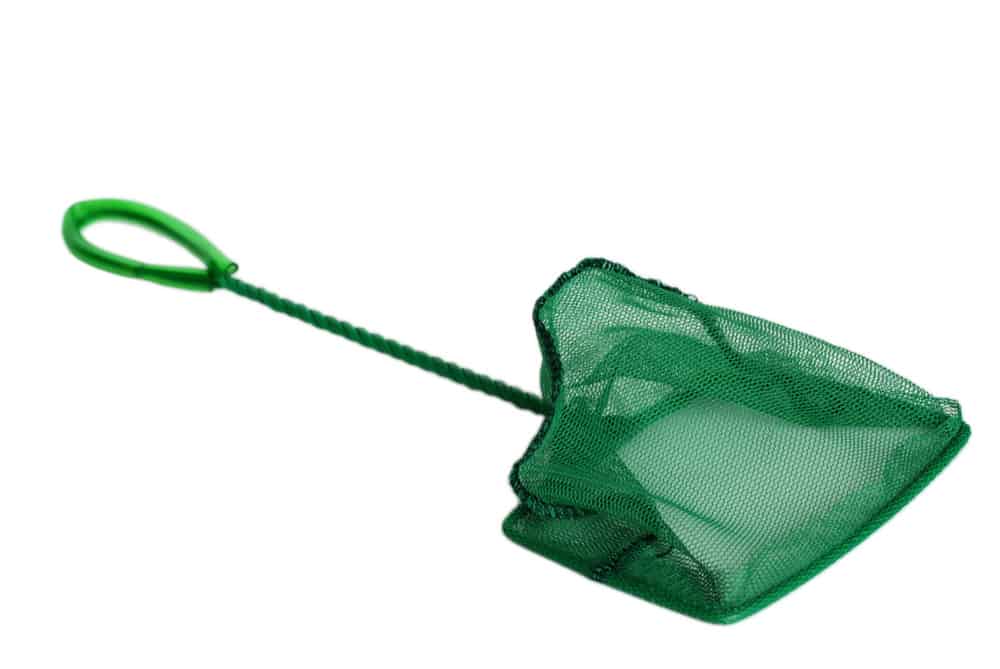
For the drip method, which takes a little longer, you’ll want a bucket that is specifically designed for aquarium use, an air control valve, a length of air pump tubing, a second bucket, and a net.
For the cup method, which is a manual, slightly faster way of getting the job done, you’ll need a bucket for your shrimp, a cup, and a net.
Performing a Visual Inspection
Now that you have your supplies, you can move on to the next step, which is opening up the box your shrimp were shipped in.
Before you do, be sure to dim the lights, including the aquarium lights.
Suddenly exposing them to bright lights can cause trauma and stress.
Once your lights are dimmed and the box is open, take a look at your shrimp before taking them out of their bag.
Inspect them for parasites and take any dead shrimp out of the bag.
If there are dead shrimp, it’s important to get the living out of the old water and somewhere else.
Waiting to acclimate may only cause more harm.
2. Using the Floating Method

The next thing to do is to check your room and tank temperature.
Different shrimp have different temperature requirements, so you’ll want to make sure the temperature is just right before you continue.
Now it’s time to determine what kind of bag your shrimp are in.
If your shrimp are in non-breathing bags, you can let them float in the water for 15 to 20 minutes so the water they’re in can match up with the tank.
However, if your shrimp are in breathing bags, it’s important that you absolutely do not float the bags in your aquarium.
Doing so will deplete the oxygen in the bag and put your shrimp at risk.
Instead of placing it in your tank, leave it in the still-dimmed room for 30 to 60 minutes.
3. Putting Them in a Container
Now that your shrimp are used to the temperature in the tank (or room), it’s time to move them into a different container.
That would be that bucket we mentioned earlier.
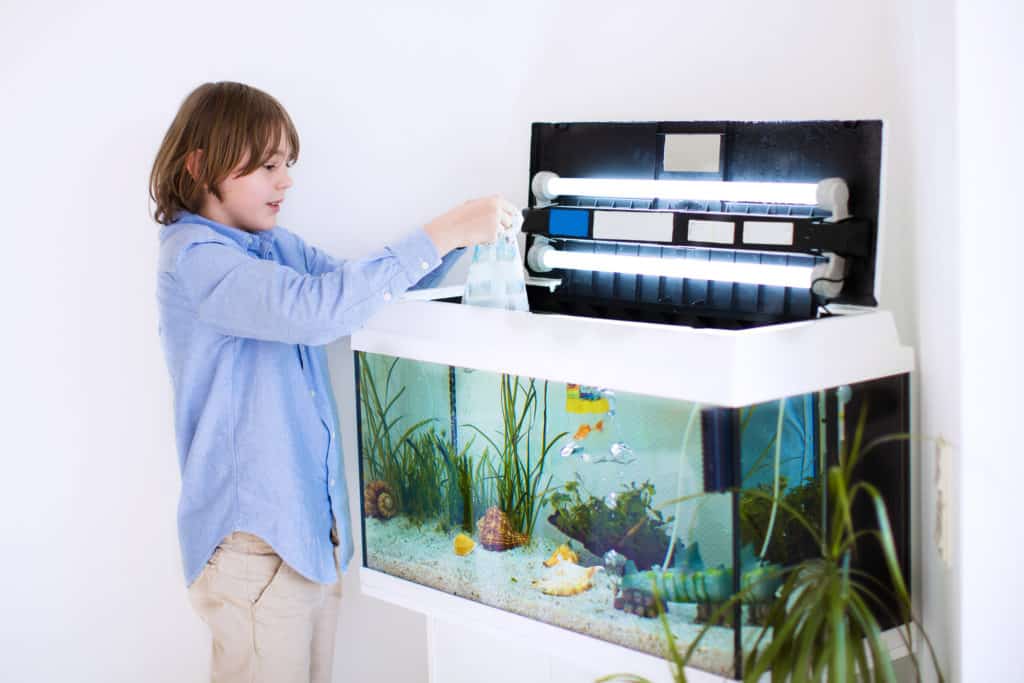
Cut open the bag just below the knot and carefully transfer the shrimp into the bucket, making sure not to expose them to the air.
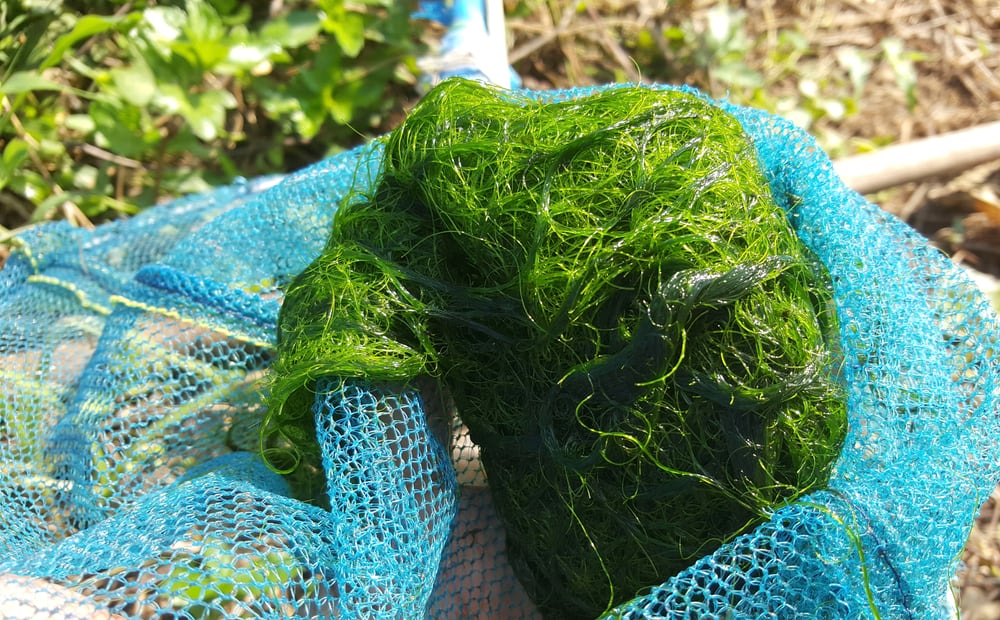
You might notice a piece of moss in the bag with your shrimp, and it’s best to transfer the moss over to the bucket along with your shrimp so they can cling to it.
4. Acclimating with a Cup Method
Now that your shrimp are out of their bag and into a bucket, you can start acclimating with their new tank’s water.
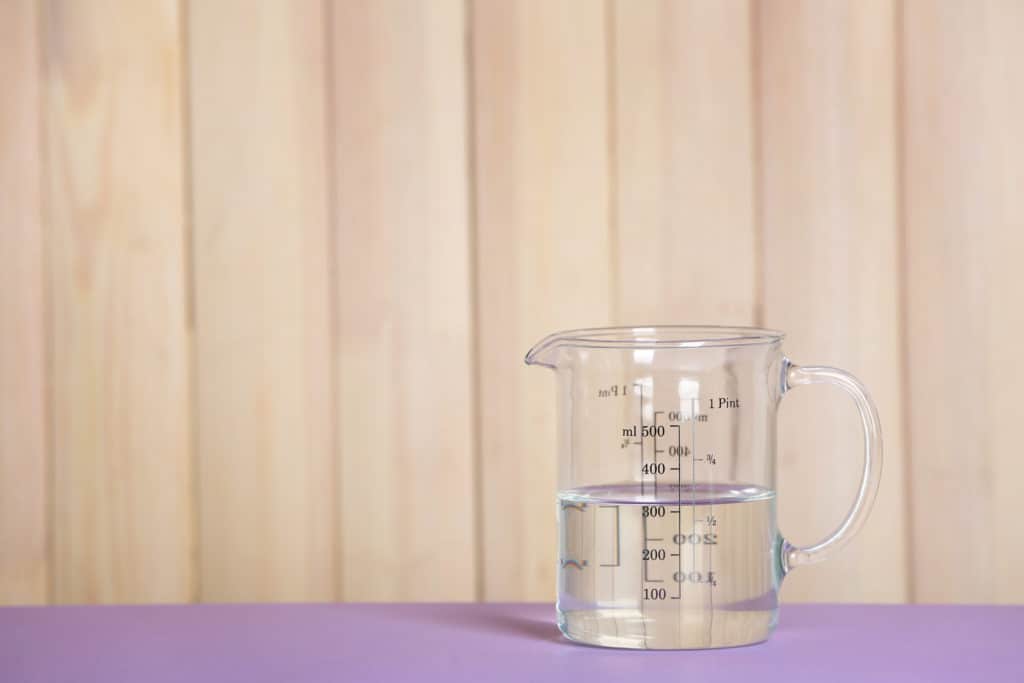
Take a cup and scoop out some water from the tank and pour about 10% of the bucket water’s volume inside.
You’ll have to determine how much is 10% yourself.
Continue to pour the same amount into the bucket every two minutes until the amount of water has tripled.
After that, the bucket’s water should be 2/3 of the actual tank’s water, and your shrimp should be well-adjusted.
Now they’re ready to be transferred to their new home.
5. Acclimation via Drip Method

There is another way to acclimate your shrimp.
You can use a drip method to get them used to the water by using an acclamation kit or your airline tubing to set up a siphon drip line.
First, you’ll want a container with about three times the amount of water your bucket of shrimp has.
Then place your container of water on a high shelf and place the tubing inside.
You’ll want to suck on the other end of the tube until the new water begins to flow through slowly, creating a drip.
You can control how fast the water drips by either tying a knot or using a valve to regulate it.
You’ll want about one or two drops a second going through, and you want about 75% of the water in the shrimp’s bucket to be new.
The drip method can take hours to complete, so if you go this route, be prepared to invest a lot of your time in it.
6. Transferring Your Shrimp
Now you’re all set to move your shrimp into their new home, but don’t just dump them in, water and all.
Use a small net to scoop them out of the bucket and place them gently in the tank.
Once they’re inside, all there is left to do is let them get used to their new home.
Let them explore for about a day before feeding them, and try not to introduce them to anything new until they’ve really settled in.
Why Acclimating Them Is Important

You might be wondering why you should acclimate your shrimp in the first place.
This is a good question, too.
You have to acclimate them because shrimp are very sensitive to water conditions, and just dumping them into a new tank can do more harm than good.
Different types of shrimp will be affected differently by temperature and water conditions, so be sure to do proper research on the type of shrimp you’ve decided to care for.
Tips for You and Your Shrimp

Before we wrap up, we do have a couple of tips for you—some things to keep an eye on during the process to make sure everything is going smoothly.
When using the drip method, try to keep an eye on your shrimp, and if they all begin to swim frantically or seem panicked, you should slow the dripping.
It’s also a good idea to test the water you plan to acclimate your shrimp too for ammonia and safe nitrate levels.
Finally, if you decide to not keep their moss ball, closely inspect it before throwing it away.
There may still be shrimp clinging to it.
Something You’ll Get Used To
If you’ve followed our steps correctly, your shrimp should be happily exploring their new home.
They should be either exploring or grazing on algae.
Both of these behaviors are normal, and this means you’ve done a great job of acclimating them.
It’s a good idea to keep a close eye on them for the first day or so to make sure they’re adjusting nicely.
The goal is to keep your shrimp as happy and healthy as possible.
If you followed our steps, you’ve put your best foot forward towards doing just that.
How are your shrimp doing in their new home?
Do you have any tips for acclimating shrimp?
Did you use the drip method or the cup method?
Let us know in the comments below.
We’re looking forward to hearing from you.
Hi is it safe to keep the moss that came in the shrimp bag and put it inside my own tank?