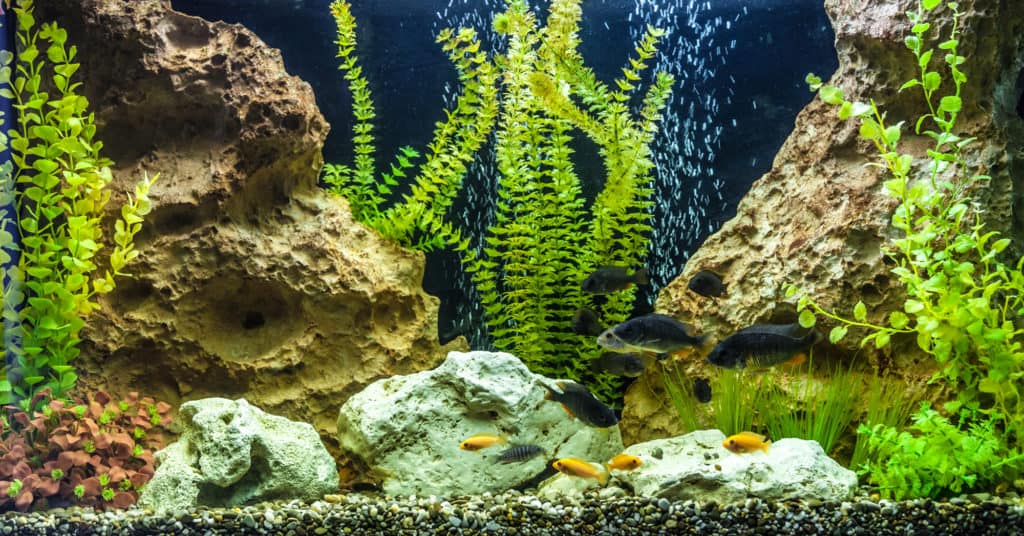
An aquarium’s gravel collects fish waste and food leftovers like a magnet, thus making the cleaning process hard.
It might be a little difficult to do at first but as soon as you get the hang of it, you will not find it too hard.
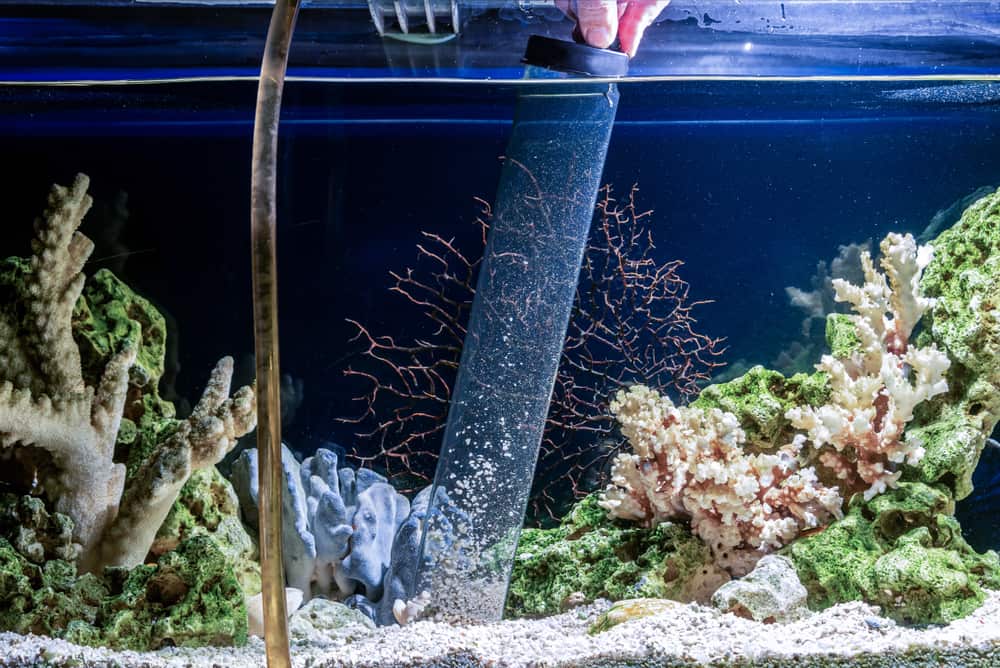
A vacuum made just for this purpose makes the process 100 times easier but in case you don’t have a vacuum, here’s what to do:
Cleaning fish tank gravel without vacuum: A Step-by-Step Process
Step 1: Start by setting up a clean tank or holder to briefly hold all the fish. Before washing or cleaning your fish tank gravel without a vacuum, you will need to move the fish in the tank into another proper and toxin-free container. This alternative container should not be treated with any cleanser which can affect the general health of the fish. If any synthetic items were used before to clean it, the container must be washed before the fish are moved into it.
Step 2: After setting up the alternate tank to move the fish into, move a portion of the aquarium water into it. Only a couple of cups will be alright.
Step 3: Once you have poured a portion of the water from the aquarium into the new tank, move the fish into the new holder using a net or another tool that won’t hurt them.
Step 4: After moving the fish, evacuate each embellishment, hose, cover and motor from the tank. Keep them all in a protected spot. Similarly, unplug all electric hardware appended to the tank.
Step 5: Get a strainer or container and put the rocks inside. While you are doing that, make sure to put aside around 2 cups of the rocks. You will return them to the fish tank later. The reason for this is to keep a portion of the valuable bacteria from the existing fish tank gravel.
Step 6: If you are using a strainer to hold and wash the gravel, move and shake it as much as possible while straining. This must be done using clean water that isn’t blended in with any cleanser or synthetic solutions.
When the dish gets grimy, proceed to blend the gravel with frequent tapping. Rehash this procedure as long as you feel the need. Proceed to the next step when the water is crystal clear underneath the washed gravel.
Step 7: Clean the whole aquarium. The fish tank from where you evacuated both the fish and the gravel should be cleaned before you set everything back in its proper place. When cleaning the tank, avoid using harsh chemicals. They can hurt both your fish and other microorganisms in the aquarium.
Step 8: Pour the cleaned fish tank gravel once again into the aquarium.
Step 9: Put back the adornments, motor, covers, hoses, and electrical hardware you took out prior to the cleaning process. Make sure everything is placed as it should be.
Step 10: Refill the tank with water. Do not to surpass the optimum water level. The water should be clean and free of any toxic compounds which can be harmful for the fish inside the tank.
Step 11: Finish the procedure by returning the fish to the aquarium. If you properly cleaned the tank gravel, you will notice the cleanliness and freshness inside the tank.
Alternate methods
In addition to the comprehensive step-by-step cleaning process mentioned above, we suggest two alternate cleaning methods which do not require a vacuum.
1. Without removing gravel
I recommend a second technique for cleaning aquarium gravel that doesn’t require removing the gravel at any cost. This technique is perfect if you have live plant, as removing them from the aquarium can harm the roots and can kill the plants.
To begin with, remove your fish from the tank and put them into an alternative tank or container. Along with the fish, remove the decorations, motor, and other hoses. Keep your live plants in the gravel, and if important, slide the plants and gravel to one side of the aquarium.
Work up the gravel with your hand, working around the live plants. Completely stir up the gravel so that the impurities and debris caught between the stones is suspended in the water. Next, plunge out 33% to one-half of the silty water left in the tank. The rest of the water contains the solid microscopic organisms which are essentially required to repopulate your tank.
2. A quick & handy DIY method
There’s another helpful DIY method you can consider that works incredibly for clearing out your aquarium’s gravel. It’s known as the DIY air spray. This kind of gravel cleaner just requires a couple of simple items. It is a super unique and effective way to clean the debris from the tank gravel. Also, you can make it in short period of time, making it a major WIN.
What you will need:
- Plastic bottle
- Rubber band
- Air tube with a spray pipe connected to it.
- Mesh bag (old tights can also work)
Once you have your materials gathered, simply follow the steps mentioned below:
Step 1: Remove the base of the bottle. You need the container to stay tall so just cut off around 2 or 3 inches of the bottle.
Step 2: Drill a gap into the cover of the bottle. The hole should be able to accommodate the size of the tubing you’ve chosen to use. It would a smart thing to gauge and measure it before drilling.
Step 3: Feed the air tube through the gap/hole.
Step 4: Connect the bag to the tubing. Secure with an elastic band. Place the mesh bag over the bottle and secure tightly. Leave a little extra material hanging off to ensure it is a tightly secured.
Step 5: Place it into the tank and start cleaning. With this method of cleaning gravel, you won’t even require a bucket as water will not be seeping out of the tank. However, you will still follow the same steps of placing the bottle into the water and going up and down about 3 inches above the tank gravel. Go deeper into the gravel for a more thorough cleansing.
Step 6: This is a very easy solution when it comes to cleaning the gravel inside the aquarium without removing water. Not only can you whip this handy gadget together in minutes, but you don’t need any buckets or have to worry about adding more water when the cleaning is complete. Keep this technique locked into mind and thank us every time it comes handy!
Important considerations for cleaning fish tank gravel without vacuum
When it comes to cleaning fish tank gravel without a vacuum, you need to bear a few things in mind.
- Cleaning the tank requires time and effort. In spite of the fact that the procedure would be simpler if you follow the directions here, don’t hope to complete everything in a short time.
- It is smarter to use only water in cleaning the fish tank gravel than utilizing any other thing. If you want to use something else, make sure that it is not harmful for fish or plants.
- Try not to clean the fish tank gravel more than twice in a month except if the aquarium is really overstocked with fish, plants etc. If you need to devise an arrangement to prop everything up easily in the tank, start with one cleaning cycle then move onto the next.
FAQs regarding tank gravel cleaning
Answered below are some of the most frequently asked questions.
Is it necessary to put gravel in the tank?
People assume that the main purpose behind putting gravel in a fish tank is to make the tank look pleasant. But all in all, is it really important to place it? It’s not absolutely essential but it is recommended and here’s the reason:
Organic filtration: Gravel gives a home to beneficial bacteria that live within the aquarium. If there’s no gravel, it’s important to change the water more regularly. These helpful settlements of bacteria flourish in gravel. Gravel makes a natural surrounding for the fish.
How often should I clean my fish tank gravel?
How frequently you clean your tank’s gravel relies upon how rapidly your fish contaminate the water. A general dependable guideline is to clean the rocks completely at bi-monthly intervals or after each water change. If that your tank is under 20 gallons, you may need to do this consistently. If you own a large aquarium, plan a cleaning regime at regular intervals.
Can fish tank gravel be properly cleaned without a vacuum?
While utilizing a vacuum to clean your fish tank gravel is the best approach, buying the vacuum is an expense. That is the reason numerous people are starting to embrace different strategies for cleaning the aquarium gravel without a vacuum. In any case, it will take additional time and exertion to clean fish tank gravel without a vacuum. Without knowing the best possible approach to this, you may wind up investing more energy in it than you want to.
To assist you with that, I have uncovered possible ways you can adopt to totally clean the aquarium gravel without a vacuum. Peruse these methods as they are recommended to get over with the cleaning process in the least possible time.
Final thoughts
The fish tank gravel is a very important part of any fish aquarium.
Gravel is usually the place where the fish waste, dead plants, wasted food and debris gets collected.
If you do not clean it regularly and properly, nitrate buildup can be harmful for your fishes’ health.
In case of an improper cleaning routine, the algae and microorganisms which can grow within the fish tanks can cause harm to fishes.
Although there are many ways which can be adopted to clean the fish tank gravel, the ones we have listed in this article are the easiest and the most effective.
We hope you found the information useful!
Leave a Reply
You must be logged in to post a comment.