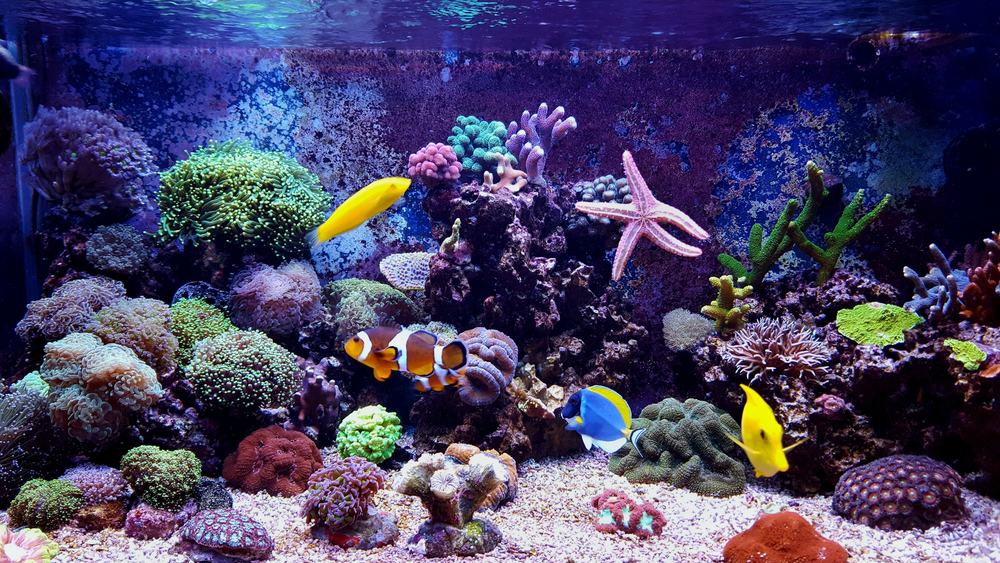
Saltwater tanks can be fun to keep, and it can be rewarding, too, as long as you keep them correctly.
Cycling a saltwater tank is an essential step in keeping a tank at its best, but when you’re pressed for time and need a quick way to cycle your tank, you can’t help but wonder if it’s even possible.
It usually takes anywhere from two weeks to two months for a tank to become fully cycled.
It is possible to cycle a saltwater tank in 24 hours, and thankfully, it won’t break the bank to do so.
How to Cycle a Saltwater Tank in 24 Hours
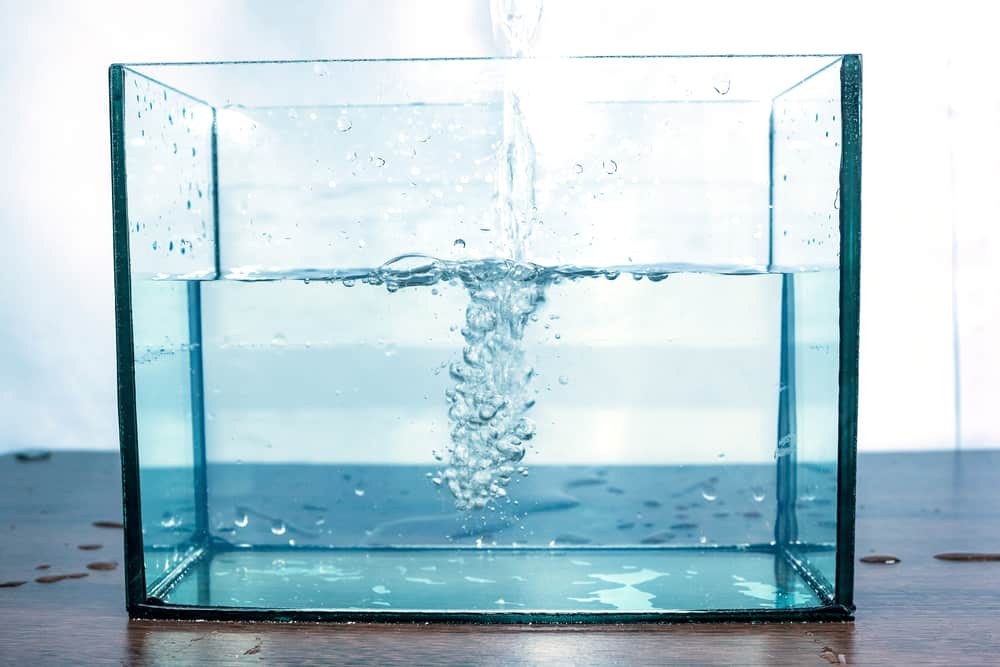
Before we get into the specifics of the process, you should know what exactly it is that you’re doing to your tank.
Cycling a tank is essentially the biological process which will keep your tank healthy.
When you cycle your tank, you’re helping purify the waste into ammonia, upon which healthy bacteria feeds.
Cycling, in short, can remove the harmful nitrites and ammonia and bring their levels down to zero.
What you’re doing is creating healthy bacteria that will break down harmful components that may end up in your saltwater aquarium.
Getting Started on Cycling Your Tank

Before you can get started on cycling your tank, you need to gather the right supplies.
Start by gathering live rock, bottled live bacteria, a siphon, and a test kit.
Once you have everything you need, you can get started on cycling your tank.
Just remember to closely monitor the ammonia levels and pH in your tank to ensure the safety of your fish.
Step One: Using an Old Filter from a Pre-Existing Tank

You want to begin by taking an old filter from a saltwater tank you already have set up.
This will bring healthy bacteria into your tank without spending all the time that you would normally have to invest.
Make sure your filter is working properly and has a healthy bacterial culture living in its media before you implement it into your tank.
Step Two: Adding Filter Media

One of the most essential parts of a saltwater tank’s filter is the media.
This will help the pre-existing healthy bacteria survive in its new tank.
You’ll want to choose the right media for your tank’s current setup, but avoid using brand-new products.
This is where the live rock comes in.
Live rock is chock-full of healthy bacteria that will make its way into your tank.
New products have no pre-existing bacterial culture, and therefore, they will force the healthy bacteria to populate slower.
Once you’ve set up your previously used filter and have it packed with the right media, you’re ready to move on to the next step.
Step Three: Turning up the Heat

Your main goal now is to help the healthy bacteria in your tank populate.
To help speed things along, you will want to provide them with a warm environment.
You’ll want the tank’s temperature to be somewhere between 71 and 79 degrees.
That way, the water’s temperature is safe for your fish while still allowing the bacteria to populate at a healthy pace.
Step Four: Adding Live Bacteria

Now that your tank is the perfect warm environment for the bacteria, you can introduce more live bacteria.
Live bacteria are often sold in bottles that you can acquire at almost any aquatic store.
It’s best to use the bottled bacteria as soon as you purchase it to prevent the bacteria from dying off prematurely.
Step Five: Increasing Oxygen Levels

For the final step, it’s important that your bacteria has access to oxygen, and providing them with enough air is thankfully easy.
Here’s where porous stones come in handy.
Using air stones and the addition of an air pump, your bacteria should have enough air to allow them to continue to thrive.
You could also use a protein skimmer for this step.
Either way will work just fine.
Alternative Methods of Cycling Your Saltwater Tank
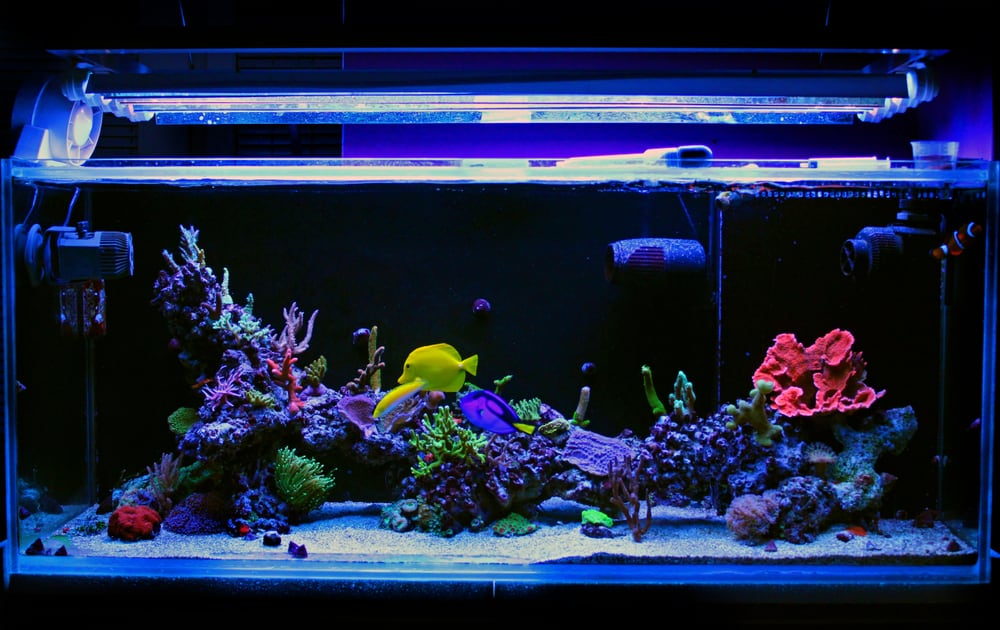
There are, of course, other methods that will take a bit longer than 24 hours which you can turn to if you don’t mind spending the extra time.
There are also methods that are safer for fish.
These involve using products specifically designed for cycling a saltwater tank.
Tanks usually take anywhere from two weeks to two months to fully cycle when starting from scratch, which is why it’s so important to introduce bacteria from an aquarium which has already gone through this painfully long process.
1. The Fishless Cycle Method
Using an aquarium test kit, ammonia, and dechlorinator, you want to check the pH of an aquarium that has already been set up, has a filter on, and has a temperature of between 65 and 85 degrees.
Once you have your pH test, you want to adjust the level to bring it to 7.
Once your pH balance is 7, you want to add your ammonia to the tank.
Since your tank is brand new, there won’t be any waste breaking down, which means you will have to add your own.
After you add the ammonia, you will have to wait about a week for the levels to lower again.
In the meantime, you’ll want to frequently test your water to check the ammonia levels, which should be right where you need them after the week is up.
Once a week has passed, you want to check the water for nitrites.
If your test comes back positive, you have the green light to add more ammonia to the tank.
You want your ammonia levels to be no higher than 5 ppm and test the nitrite levels every day.
When they begin to lower, you’re ready to move on to the next step.
You should test for nitrite eating bacteria next, and use your testing kit to check for nitrates.
Once your tank has the confirmed presence of nitrates, you’re almost ready to get started with the final steps.
Continue to test the water’s nitrite and ammonia levels daily, adding more ammonia as needed to keep your bacteria alive.
The final step to be taken is when waiting for your ammonia and nitrite levels to drop to zero.
Once they do, you need to add a full dose of ammonia to the water, the same amount as you did when you began the cycle.
After waiting another 24 hours, check your nitrite and ammonia levels one last time.
If they both read zero, you have successfully cycled your tank the old-fashioned, fishless way!
2. The Fish Method
This next method is best left to professionals and other experienced aquarists.
You can keep specific types of fish in your tank during the cycling process, as long as they’re hardy enough to survive when ammonia and nitrite levels become toxic.
Damsels are, unfortunately, one of the most commonly used fish to cycle a tank, despite the fact that they are the worst species to do so.
Cycling your tank with fish puts them at risk for death, even if they are extremely hardy.
There are not any additional benefits that come with cycling your saltwater tank with fish, and we cannot recommend it with a clear conscience.
It’s best to go with the safest method for your fish, even if it takes a little longer and requires a little extra work.
3. The Fish Food Method
Finally, another slow, cheap, and fairly difficult method is the fish food method.
All you need to do for this method is add fish food to your tank daily as if you were feeding your fish.
By doing this, you’re creating and fueling a constant decomposition process, which will produce ammonia for bacteria to break down and consume.
This method takes patience as it can take more than a month for the cycling process to complete itself, along with other disadvantages.
All in all, while this is a relatively cheap method, it is very difficult to create a decently sized bacterial colony this way, and it may not prove to be very productive.
What Happens If You Don’t Cycle Your Saltwater Tank?

You’ve heard the benefits of what happens when you cycle your tank, but what happens when you don’t?
If you don’t cycle your tank yourself, your fish may end up starting the process for you.
The waste your fish produces will inevitably break down and begin to raise ammonia and nitrite levels, but without healthy bacteria to break it down, your fish will soon be swimming in a toxic environment.
As ammonia and nitrite levels continue to rise, your tank will become more and more uninhabitable.
As the tank’s water conditions get worse, your fish will become susceptible to various diseases, and any new fish introduced to uncycled water will likely not survive.
That’s why it’s so important to properly cycle your tank and monitor nitrite and ammonia levels closely.
Tips for Maintaining a Saltwater Tank

After cycling your tank, you want to make sure the conditions remain within the right parameters.
You’ll want to have a test kit on hand to test the water’s pH balance to make sure it stays in the healthy range.
It’s not difficult to balance your water’s pH without putting your fish at risk.
If your water is too basic, you can balance it out by adding small amounts of lemon juice or vinegar.
If your water is too acidic, small amounts of baking soda can raise its pH.
You should also make sure your filter is always in proper working order.
When the filter shuts off, the healthy bacteria living there won’t get the oxygen it needs to survive, and neither will your fish.
Monitor the water’s ammonia and nitrite levels, and make sure they stay at safe levels.
Another important part of maintaining a saltwater tank is making sure you are “micro-cleaning” it regularly.
That’s just a fancy term for the simple act of removing uneaten food, overgrowth, and any visible waste you see.
Speaking of cleaning, just because you have a colony of healthy bacteria doesn’t mean that they can care for your tank on their own.
You should be performing regular water changes to ensure the overall health of your tank as well as keep your water parameters up.
Cycle of Life
Now you know how to properly cycle a saltwater tank, and in turn, you know how to keep your tank at its best.
We hope your saltwater tank’s cycle was successful, and the tank’s conditions are just right for your fish.
All it takes is a little patience and a lot of testing to create the perfect environment for your saltwater fish, and all the other creatures you may house in your aquarium, too.
Which cycling method did you use?
Let us know in the comments below—we always look forward to hearing what you have to say.
Leave a Reply
You must be logged in to post a comment.